Our detailed guide demystifies the vital process of checking superheat, offering step-by-step insights. Equip yourself with the knowledge to undertake checking superheat accurately and efficiently, ensuring your system’s longevity and optimal performance.

Table of Contents
Tools You Will Need for Checking Superheat
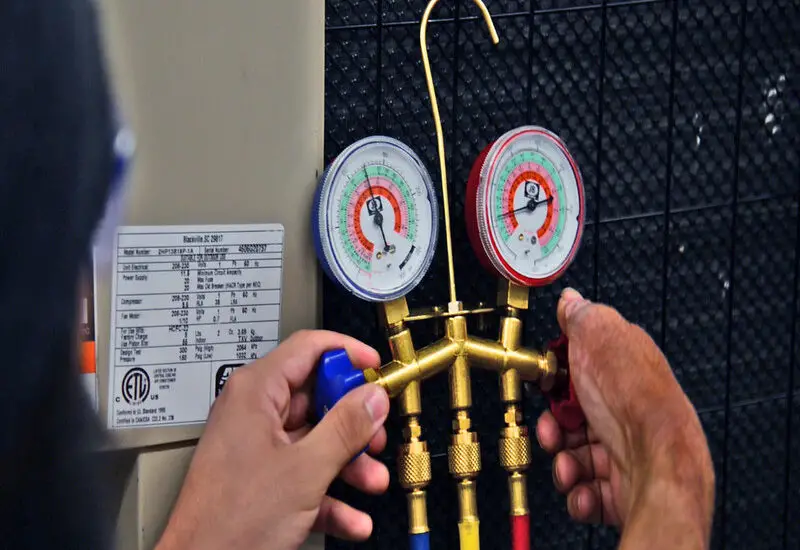
Proper preparation is half the battle won. Before you embark on checking superheat, ensure you have a high-accuracy thermometer and a pressure gauge. The thermometer measures the temperature of the refrigerant, while the pressure gauge helps to monitor the pressure in the system.
You can get this Orion Motor Tech AC Gauges, AC Manifold Gauge Set from Amazon for this task.
Moreover, having a set of screwdrivers and safety gloves is recommended for adjusting components and ensuring your safety during the process.
Step-by-Step Guide to Checking Superheat
Checking superheat involves a series of meticulous steps that help ensure the optimal functionality of your refrigeration system. To achieve the most accurate results, follow this detailed guide carefully:
Allow the System to Stabilize: Before you begin, let your system run for at least 15-20 minutes to reach a steady state. This ensures that the temperatures and pressures within the system are stable, providing more accurate readings.
Locating the Low-Pressure Side: Identify the low-pressure side of your refrigeration system. This is generally found in the system’s compressor or condenser unit. You will be attaching your pressure gauge here to take the necessary readings.
Attaching the Pressure Gauge: Attach the pressure gauge securely to the low-pressure side. Ensure the connection is tight to avoid any leaks and false readings. Your gauge will provide the pressure readings in psi, which you will later convert to temperature.
Measuring the Vapor Temperature: Using a high-accuracy thermometer, measure the temperature of the refrigerant vapor at the evaporator outlet. Ensure that the thermometer is placed at the correct point to obtain an accurate reading.
Recording the Readings: Note down the readings you obtain from the pressure gauge and the thermometer. It’s essential to record these readings accurately as they will be used in calculating the superheat.
Converting Pressure to Temperature: Use a pressure-temperature chart to convert the pressure reading (in psi) to temperature. This chart can be found in the manual of the refrigeration system or online. Find the corresponding temperature for the pressure you recorded.
Calculating the Superheat: The final step in the checking process is calculating the superheat. Subtract the boiling point temperature (obtained from the chart) from the vapor temperature (measured at the evaporator outlet). The result is the superheat value, a crucial indicator of your system’s performance.
Analyzing the Results of Checking Superheat
Understanding the superheat value you have calculated is vital in determining the condition of your refrigeration system. Let’s break down how to analyze the results:
Low Superheat Reading: A lower superheat value can indicate that there is too much refrigerant in the evaporator, which can potentially lead to a condition called “liquid slugging” in the compressor. It is vital to address this to avoid damage to the compressor.
High Superheat Reading: Conversely, a high superheat reading might signal that the amount of refrigerant entering the evaporator is insufficient, leading to decreased system efficiency and increased operating costs. Recognizing and rectifying high superheat values can help in enhancing system performance and energy efficiency.
Reference to Manufacturer’s Guidelines: Always refer to the manufacturer’s guidelines to understand the optimal superheat value for your specific refrigeration system. Different systems might have varied optimal ranges, and knowing the exact range for your system helps in fine-tuning its operations effectively.
Check out these other articles…
Bad TXV Valve Symptoms: Detecting & Resolving Early Signs
What is TXV Valve? Comprehensive 411 Guide
How Does a TXV Work? Your Easy 411 Guide
When is a TXV Valve Needed: Comprehensive 411 Guide
Function of Thermostatic Expansion Valve in Refrigeration System
Tips and Best Practices for Checking Superheat
To ensure the long lifespan and optimal functioning of your refrigeration system, adhering to best practices is essential. Here are the tips and best practices to bear in mind:
Use Calibrated Tools: Always use tools that are calibrated correctly to get the most accurate readings. Uncalibrated tools can provide incorrect data, leading to erroneous conclusions.
Regular Checks: Instituting a routine of regular checks will aid in maintaining system efficiency and foreseeing potential issues before they become major problems. It can be beneficial to create a schedule for these checks to ensure they are performed consistently.
Professional Advice: If you encounter readings that are consistently abnormal or face difficulties in interpreting the data, do not hesitate to seek professional advice. Experts can provide insights and solutions that might not be apparent to inexperienced individuals.
Safety Precautions: Safety should be your utmost priority. Always ensure to work in a safe environment. Disconnect any electrical connections while working to avoid accidents. Using safety gloves to protect your hands is also a recommended practice.