Encountering the problem of freon not going in? This comprehensive guide provides you with an easy-to-follow troubleshooting process to rectify this common issue.

Common Reasons for Freon Not Going In
Understanding why freon is not going in is crucial for effective troubleshooting. Here are some of the most common reasons:
Refrigerant Leaks: Small holes or cracks in the refrigerant lines can lead to leaks. These can be caused by corrosion, physical damage, or wear over time. Signs of a refrigerant leak include hissing sounds, ice formation on the AC unit, and a noticeable decrease in cooling efficiency.
Blocked Lines: Debris, dirt, or even ice can block the refrigerant lines. This obstruction prevents Freon from flowing freely, hindering the AC’s ability to cool. Regular checks for any blockages or signs of frost on the lines are essential.
Compressor Issues: The compressor is responsible for circulating Freon through the system. Issues like overheating, electrical faults, or mechanical wear can impair its functionality. Symptoms of compressor problems include strange noises, tripped circuit breakers, or the unit not turning on.
Incorrect Refrigerant Charge: Both undercharging and overcharging the refrigerant can cause problems. Undercharging might occur due to leaks or incorrect installation, while overcharging can happen during maintenance. The right charge level is critical for optimal performance.
Step-by-Step Guide to Troubleshooting Freon Not Going In
When you encounter the issue of freon not going in, follow these detailed steps for troubleshooting:
Inspect for Leaks: Check all refrigerant lines, connectors, and coils for leaks. You can use a UV light and dye in the system to spot small leaks. Pay special attention to any oily residue on the lines, as this can be a sign of leaking refrigerant.
Check the Compressor: Listen for any abnormal sounds coming from the compressor. Verify that it’s receiving power and not overheating. Check electrical connections for any signs of damage or wear.
Examine the Refrigerant Lines: Look for any visible damage, kinks, or bends in the lines. If ice is present, it may indicate a blockage or a leak. Ensure the lines are free from physical obstructions and are in good condition.
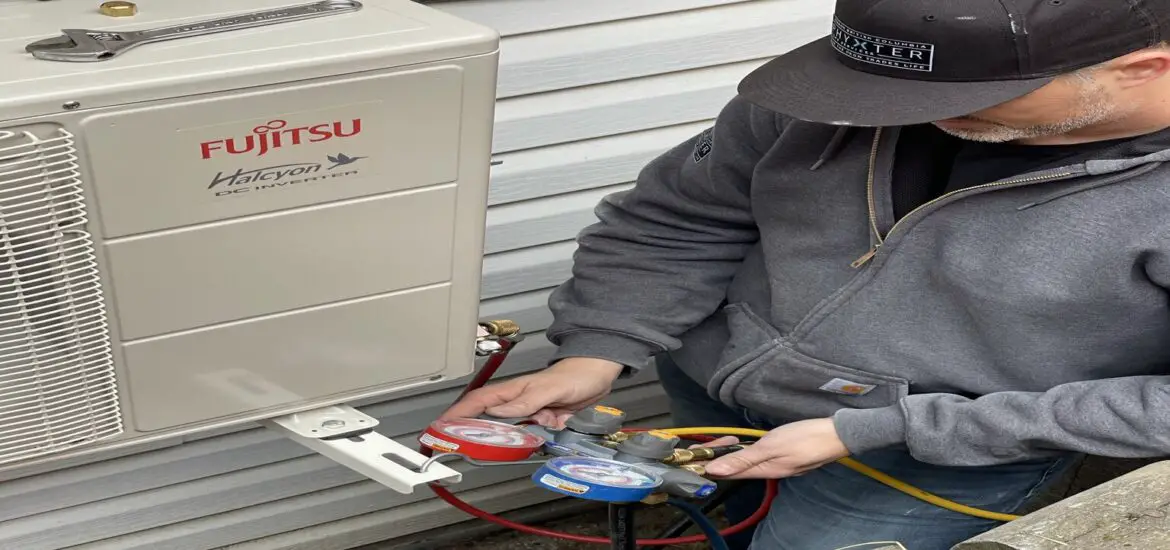
Assess System Pressure: Using a manifold gauge set, measure the pressure of the refrigerant. Compare these readings to the recommended levels for your specific AC model. Abnormal pressure readings can be a sign of either a leak or a blockage in the system.
You can get this BENTISM 4-Way AC Manifold Gauge Set from Walmart.
Seek Professional Help: If these steps do not resolve the issue, or if you are unsure about any part of the process, contacting a certified HVAC technician is advisable. They can provide a more thorough diagnosis and ensure that repairs are done safely and effectively.
Preventive Measures and Maintenance Tips
To prevent ‘freon not going in’ issues and to maintain the efficiency of your AC unit, follow these tips:
Regular Inspections: Have your AC system inspected by a professional at least once a year. This can help identify potential issues early, such as small leaks or wear on components.
Clean Filters: Replace or clean the air filters in your AC unit regularly. Dirty filters can restrict airflow and put extra strain on your system, leading to various problems, including issues with refrigerant flow.
Monitor Refrigerant Levels: While refrigerant doesn’t get used up, levels can drop due to leaks. Keep an eye on your system’s performance and call a technician if you suspect refrigerant loss.
Keep the Area Clean: Make sure the area around both your indoor and outdoor AC units is clear of debris, dust, and foliage. This helps maintain proper airflow and reduces the likelihood of blockages or overheating.
Avoid DIY Recharging: Adding refrigerant to your system should only be done by professionals. Incorrect handling or charging can cause more harm than good.