If Freon won’t come out of can, this comprehensive guide delves into the reasons behind this problem and provides detailed, step-by-step solutions.
Common Reasons Why Freon Won’t Come Out of the Can
Understanding why freon is not being dispensed from the can is crucial to resolving the issue. Here are the most common reasons:
Blocked Valve: The valve, which controls the release of freon, may become clogged with debris or dust over time. This obstruction can prevent the freon from flowing out of the can. Regular maintenance and cleaning are essential to keep the valve in good working condition.
Improper Hose Connection: The hose used to dispense freon must be correctly attached to the canister. If it’s not properly connected, or if the connection is loose, freon won’t flow correctly. Additionally, any cracks or damages in the hose can lead to leaks, further complicating the issue.
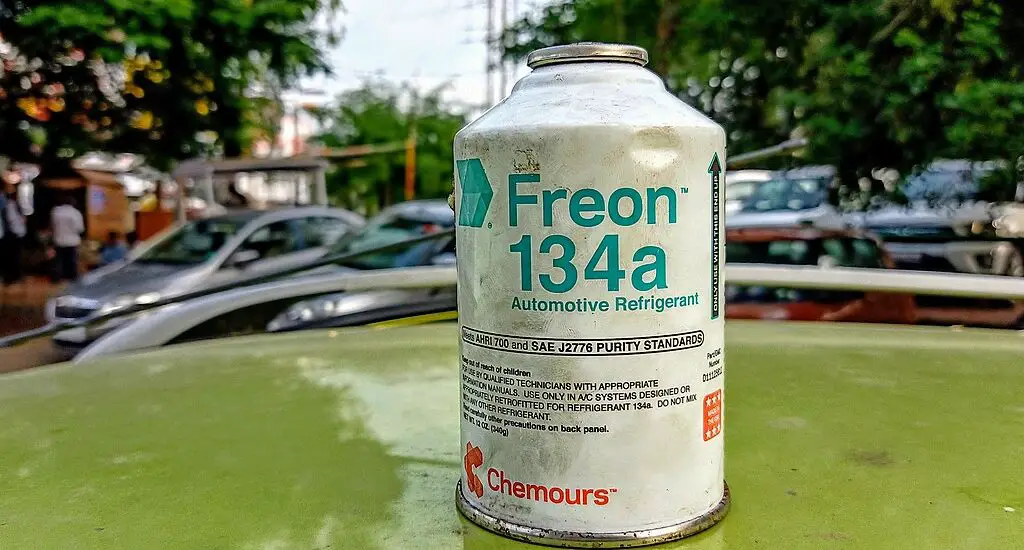
Malfunctioning Canister: The canister itself might be faulty. This could be due to a manufacturing defect, damage from mishandling, or wear and tear over time. In such cases, replacing the canister is often the only solution.
Temperature Issues: Freon requires a certain range of temperature to be dispensed properly. If the canister is too cold, the pressure inside decreases and freon won’t be expelled efficiently. On the other hand, if the canister is too hot, it can be dangerous and may cause the freon to be released too rapidly.
Freon Won’t Come Out of Can Solutions
If Freon won’t come out of can, do these solutions.
Inspect the Canister and Hose Connection
Start your troubleshooting by inspecting the canister and the hose connection:
Canister Inspection: Check the canister for any physical damage such as dents or rust. Also, ensure that it’s not empty. Shake it gently to feel if there is any liquid (freon) inside. If the canister is damaged or empty, it will need to be replaced.
Hose Connection: Examine the hose connection to the canister. It should be secure and tight, but not overly so, as this can damage the valve. Look for signs of wear or damage on the hose. If the hose is damaged, it will need to be replaced.
Check out this EZ Chill Auto A/C Recharge Kit With Reusable R-134A Gauge and Hose available at Walmart.
Examine the Valve and Nozzle
The valve and nozzle are critical components in the dispensing process:
Valve Inspection: Check the valve for any signs of blockage or damage. If it’s clogged, you can try to clean it using a pin or a small tool, but be gentle to avoid damaging it. If the valve appears damaged, it’s safer to replace the canister or seek professional help.
Nozzle Examination: Look at the nozzle where freon exits the canister. Ensure it’s not clogged with debris or residue. A clogged nozzle can often be cleaned with a small brush or cloth. If the nozzle is damaged, however, the canister may need to be replaced.
Consider Temperature Factors
Temperature plays a significant role in the dispensing of freon:
Warming a Cold Canister: If the canister is too cold, warm it gently to room temperature. You can do this by placing it in a warmer environment or holding it in your hands. Avoid using direct heat sources as this can be dangerous.
Cooling a Hot Canister: If it is too hot, let it cool down to room temperature naturally. Do not place it in a freezer or use cold water, as sudden temperature changes can be hazardous.
Checking the Ambient Temperature: Ensure that the surrounding environment is not too hot or cold. Freon dispenses best at room temperature, so working in an environment that is too extreme can affect the process.
Professional Assistance
If you’ve tried the above steps without success, it’s best to seek professional help. Refrigerant systems can be complex, and handling freon requires specific skills and safety precautions. A professional can safely diagnose and fix issues that go beyond basic troubleshooting.