So, you’ve been searching for how to test a refrigerator compressor start capacitor, right? Perfect! You’re in the right place, folks. Let’s hit the road running by explaining what exactly this little component is and how it operates in your fridge.
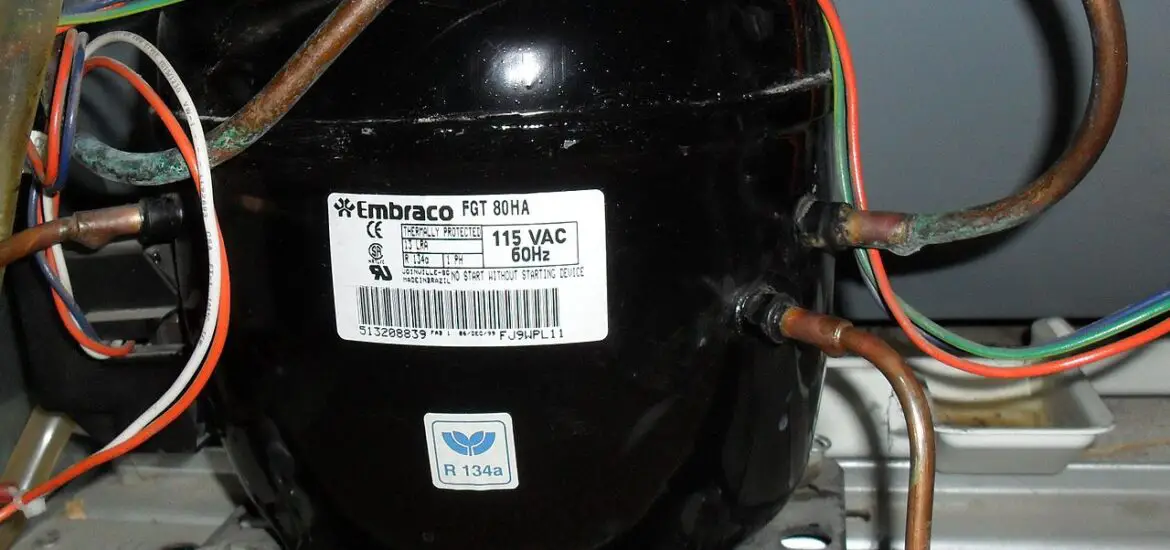
Table of Contents
Brief Overview of a Refrigerator Compressor Start Capacitor
Imagine your refrigerator as an athlete. You know, the kind that sprints. The compressor start capacitor is like that initial burst of energy that propels the sprinter forward. It’s that kick-starting punch that gets your fridge’s compressor running. But, how can you test if this crucial component is doing its job? Read on, dear reader, and we’ll spill the beans.
Understanding the Role of the Compressor Start Capacifier
Our journey starts by unraveling the mystery behind this little energy-packed component. It’s more than just a piece of tech; it’s the heart of your refrigerator’s starting mechanism.
Significance of a Compressor Start Capacitor
Okay, first things first. This nifty little device – the compressor start capacitor – stores and releases electrical energy to get the compressor motor up and running. Think of it like a power bank for your compressor. When it’s faulty? Your fridge might not start or cool properly. Not good news for your ice cream stash, right?
Common Symptoms of a Faulty Start Capacitor
You might be wondering, “How do I know if my capacitor’s busted?” Well, if your fridge is humming but not cooling, or the compressor isn’t kicking on, you might have a capacitor issue. But hold on! We’re not fortune tellers. We’ve got actual testing methods for that. Stay with me, folks!
Preparing to Test the Compressor Start Capacitor
Before diving in, it’s crucial to get everything ready – safety gear, tools, and a dash of bravery. Remember, safety first!
Safety Precautions
Before you play Sherlock Holmes with your fridge, remember that safety comes first. So, slap on some rubber gloves and protective eyewear. And always, always unplug your fridge before poking around. We don’t want any hair-raising experiences, do we?
Necessary Tools
You’ll need a multimeter and a capacitance meter for the testing process. Don’t fret if you’re unfamiliar with these gadgets. They’re less complicated than they sound, and we’re here to guide you through it.
Check out these other related articles…
Fridge Compressor Not Cooling: 5 Causes & Proven Solutions
Refrigerator Compressor Hard Start: Causes & Sure Fixes
Refrigerator Compressor HP Codes: Your Ultimate 411 Guide
Refrigerator Compressor Insulation: Your Quick 101 Guide
Refrigerator Compressor Delay: A Detailed Guide
Step-by-Step Guide on How to Test a Refrigerator Compressor Start Capacitor
Alright, it’s showtime! Let’s roll up our sleeves and get into the nuts and bolts of testing your compressor start capacitor.
Locating and Removing the Capacitor
First off, you need to locate your capacitor. It’s usually huddled up with the compressor, at the back of your fridge. Getting it out might require some unscrewing or unclipping. Be gentle. We don’t want a Hulk moment here, do we?
Tips for Safe and Efficient Removal
Keep track of any screws or clips you remove. A bowl or tray can be handy for this. And remember, patience is key. Rushing can lead to unnecessary damage.
Performing the Continuity Test
Alright, now grab that multimeter. We’re going to check for electrical continuity. Set your multimeter to the lowest ohms of resistance. Touch the meter probes to the capacitor terminals. If the needle doesn’t move, it’s a bad sign for your capacitor. But, don’t go replacing it just yet. We have another test to run.
Understanding the Continuity Test Results
So, if the needle moves, your capacitor isn’t dead. It still might not be running at peak performance, but it’s got some life in it. If the needle didn’t budge, your capacitor could be kaput. But let’s double-check with a capacitance test before we jump to conclusions, shall we?
Performing the Capacitance Test
For the capacitance test, you’ll need a capacitance meter. Attach the leads of the meter to the capacitor terminals. The readout will tell you the microfarads (μF) – a measure of capacitance. Compare this to the value stated on the capacitor. If they’re way off, your capacitor is underperforming. Bummer!
Understanding the Capacitance Test Results
Think of microfarads like the horsepower of your capacitor. If it’s way below what’s stated on the capacitor, it’s like having a racehorse that’s running like a donkey. If the readings are significantly off, it’s likely time for a replacement.
After the Test
Done with the tests? Don’t pack up just yet! Understanding and interpreting the test results is the final step on our journey.
Interpreting the Test Results
After your capacitor has been through these tests, you should have a pretty good idea of its health. Remember, a good start capacitor should pass both the continuity and capacitance tests. If it fails either, it’s likely time to go shopping for a new one.
Next Steps: Repair or Replace?
If your capacitor didn’t pass the tests, you might be asking, “Can I repair it?” Well, generally, it’s better and safer to replace a faulty capacitor. After all, a sprinter can’t race with a sprained ankle, can they?
