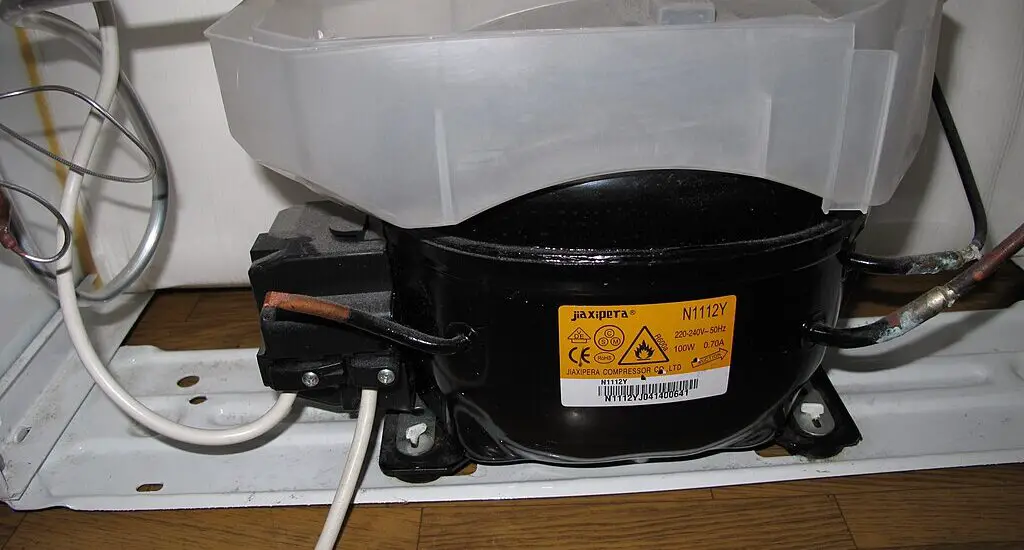
Is your refrigerator compressor leaking water? This guide provides you with a step-by-step process to diagnose and fix this issue, even if you’re a complete beginner in appliance repairs.

Table of Contents
Why Is My Refrigerator Compressor Leaking Water?
Knowing the root cause of the problem can guide you toward the correct solution. Here are some common reasons your refrigerator compressor may be leaking water, along with an in-depth explanation for each:
Condensation Issues: This happens when hot and cold air interact inside the refrigerator, leading to moisture that may turn into a leak. The moisture usually collects around the compressor and then drips down. Regularly cleaning the coils can reduce condensation.
Drainage Problems: The drain pan and drain tube channel away defrosted water. If either is blocked or malfunctioning, the water will likely pool at the bottom of your fridge. A regular cleaning schedule can help prevent blockages.
Gasket Failure: The gasket is the rubber seal that keeps the fridge door closed. When it ages or gets damaged, warm air infiltrates the interior, leading to condensation and leaks. A visual inspection for cracks and warping can reveal a gasket in need of replacement.
Faulty Water Supply: If your refrigerator has a water dispenser or ice maker, leaks can come from damaged hoses, valves, or connections. Periodic checks of the water supply components can help prevent leaks.
Tools You’ll Need to Fix the Problem
Before diving into the troubleshooting process, make sure you have the following tools and supplies on hand:
Screwdriver: For opening compartments or removing screws.
Towel or cloth: To wipe up any water or moisture.
Bucket: To collect water during testing phases.
Warm water: For cleaning purposes.
Soap: Mild detergent to clean specific components.
Steps to Troubleshoot a Refrigerator Compressor Leaking Water
To troubleshoot a refrigerator compressor leaking water, a structured, step-by-step approach is best. Here’s what to do:
1. Unplug the Refrigerator
First, unplug your refrigerator from the electrical outlet. This is a critical safety step to avoid the risk of electrical shock during the troubleshooting process.
2. Locate the Compressor
The compressor is usually found at the bottom back of the refrigerator. You may need to remove a back panel held in place by screws. Use a screwdriver to do this.
3. Check for Condensation
If you see water droplets around the compressor, condensation may be the issue. The condenser coils—located nearby—should be cleaned. Use a coil brush along with warm, soapy water to gently scrub the coils, removing dirt and grime.
4. Examine the Drain Pan
Check the drain pan located under the compressor for cracks, holes, or other damages. If you notice any, replace the drain pan immediately. The pan is usually removable and can be purchased as a spare part from your refrigerator’s manufacturer.
5. Inspect the Gasket
The gasket is the rubber seal around the doors. Perform a simple test by shutting a dollar bill in the door and trying to pull it out. If the bill comes out easily, the gasket is likely faulty and should be replaced. Check your manufacturer’s guide for gasket replacement instructions.
6. Investigate the Water Supply
If your refrigerator has built-in water features like a dispenser or ice maker, scrutinize the water lines and valves for leaks. Tighten any loose connections with a wrench and replace any damaged components.
Check out these other articles…
Refrigerator Compressor Hot and Not Cooling: DIY Solutions
Refrigerator Compressor Hot But Not Starting: 4 Easy Fixes
Refrigerator Compressor Issues: How to Fix Them Like a Pro
Refrigerator Compressor Just Clicks: 5 Easy Steps to Fix It
Refrigerator Compressor Just Hums: Easy Steps to Fix It
When to Seek Professional Help
If after performing all these steps, you still haven’t identified or resolved the problem, then it’s advisable to seek professional assistance. A certified technician can give a more in-depth diagnosis and potentially uncover issues that aren’t easily spotted through DIY methods.