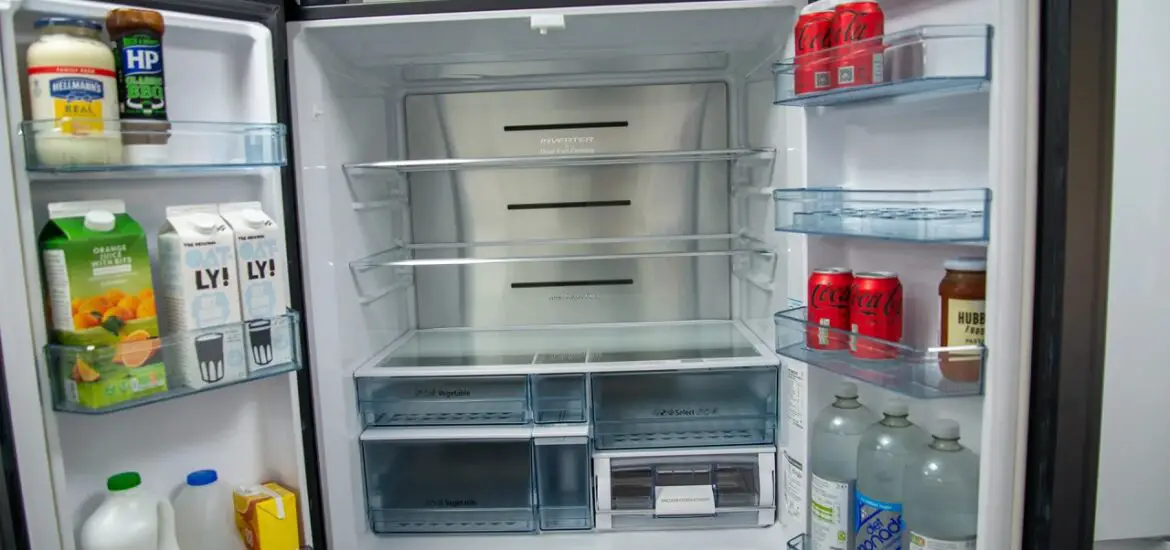
If you don’t know how to install your Amana refrigerator shelves, you are in the right place. In this article, we walk you through the steps you need to follow to do this.

How To Install Amana Refrigerator Shelves
Below, we have listed the steps you need to follow in order to install your Amana refrigerator shelves…
Step 1: Open up the door of the refrigerator.
Step 2: Get the first shelf.
Step 3: Position the rear of the shelf into the support brackets on the back wall of the refrigerator.
Step 4: Once the rear of the shelf is properly positioned in the brackets, slide it into place.
Step 5: Follow these same steps to install your other Amana refrigerator shelves.
Step 6: Shut the door of the refrigerator.
Also follow the steps above to put the shelves back in your Amana refrigerator.
How To Remove Amana Freezer Shelves
Follow the steps listed below to remove the shelves of your Amana freezer…
Step 1: First, turn the freezer off.
Step 2: Open the door of the freezer.
Step 3: Get a pair of needle nose pliers.
Step 4: On the right side of the first freezer shelf, there is a white cylindrical plastic piece which holds it to the freezer. In order to remove the shelf, you will need to move this bracket over. To do this, lift the shelf up a bit. Make sure the bracket is in the center position of the opening in the wall.
Step 5: Once you have done this, get the pair of pliers and push the bracket into the shelf to release it from the opening in the freezer. Note that the bracket won’t move unless it’s in the center position.
Step 6: Do this with the other bracket on the rear right of the shelf.
Step 7: Support the shelf, lower it to the right, then remove from the freezer.
Step 8: Follow these steps to remove the other shelves.
Watch the video below for a visual of how to remove your Amana freezer shelves.