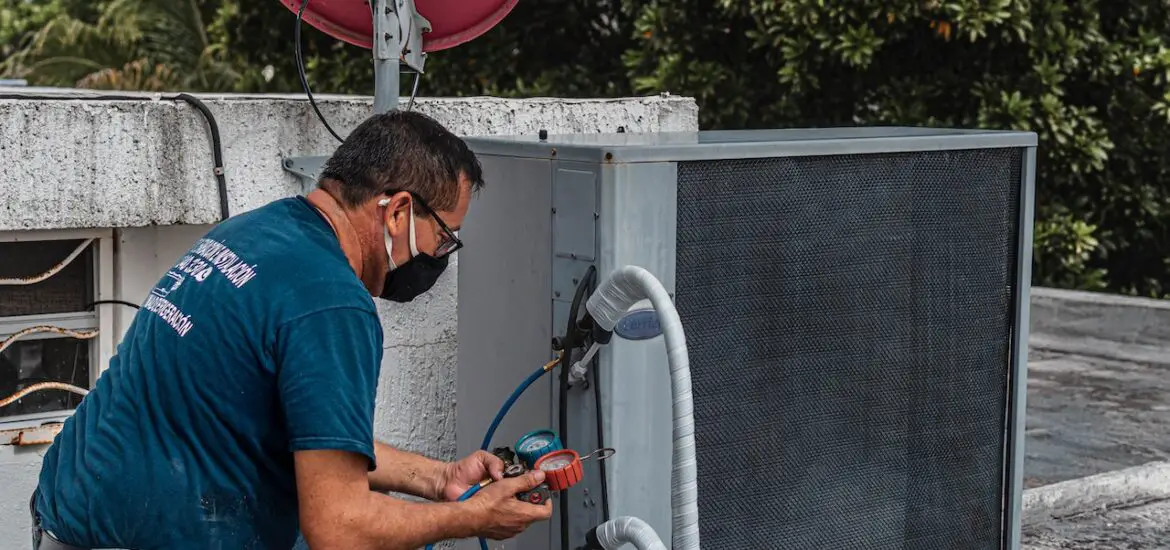
Learning how to adjust superheat and subcooling is a pivotal skill in ensuring the longevity and efficiency of your HVAC system. Whether you are an HVAC professional or a homeowner trying to understand the nuances of HVAC maintenance, this guide will assist you every step of the way.

Table of Contents
Identifying the Need for Adjustment
Before you start with the adjustments, it is crucial to understand when your HVAC system requires attention. Some signs to look for include uneven cooling across rooms, a spike in electricity bills, or a system that is constantly cycling on and off.
In such scenarios, checking and adjusting the superheat and subcooling can often resolve the issue, bringing your system back to optimal functioning.
Gathering Necessary Tools
Before diving into the adjustments, gather the necessary tools for the task.
You will need a reliable thermometer to take accurate temperature readings, a set of manifold gauges to measure pressure, and a PT chart to help you find the correct superheat and subcooling values based on your readings.
This OMT AC Manifold Gauge Set on Amazon works for R134a, R12, R22, and R502 refrigerant.
Having a system manual could be beneficial as it will provide the manufacturer’s specific guidelines and recommendations.
Step-by-step Guide to Adjust Superheat
Adjusting superheat is a meticulous process that involves several steps. Understanding and following each step correctly can help ensure your HVAC system runs efficiently. Here’s how you can adjust the superheat step-by-step:
Identify the Low-Pressure Port
Identify the low-pressure port on your HVAC system; it is typically found on the larger pipe coming out from the condenser unit. This is where you will connect the manifold gauge to take the necessary readings.
Attach the Manifold Gauges
Connect the manifold gauges to the low-pressure port. Ensure it is attached securely to prevent any leakages and to get accurate readings.
Take Temperature and Pressure Readings
Using a thermometer, take the temperature reading of the suction line — this is the line that carries the refrigerant back to the unit. Jot down this reading. Next, take the pressure reading from the low side of the manifold gauges and note it down.
Refer to the PT Chart
With the readings in hand, refer to the PT chart to determine the correct superheat value for your system.
Adjust the Thermostat
Based on the information gathered from the PT chart, adjust the thermostat settings to achieve the recommended superheat value. Do this gradually while constantly monitoring the readings to avoid overshooting the desired value.
Test the Adjustments
After making the adjustments, run the system and monitor it closely to ensure it is working optimally. It might take a while for the system to stabilize; hence, patience is key here.
Note Down the Final Readings
Once the system stabilizes, take the final readings and note them down. This data will be essential for future reference and maintenance.
Step-by-step Guide to Adjust Subcooling
Just like adjusting the superheat, subcooling adjustment involves a series of steps to ensure the efficiency of your HVAC system. Here are the detailed steps:
Locate the High-Pressure Port
Find the high-pressure port of your HVAC system, which is generally situated on the smaller pipe coming out of the condenser unit.
Connect the Manifold Gauges
Attach the manifold gauges to the high-pressure port securely to ensure accurate readings.
Measure Temperature and Pressure
Take the temperature reading at the liquid line using your thermometer. Subsequently, obtain the pressure reading from the high side of your manifold gauges and jot down these values.
Refer to the PT Chart
Utilize the readings taken to refer to the PT chart to understand the correct subcooling value necessary for your system.
Make Adjustments
Based on the PT chart’s guidance, adjust your system to attain the correct subcooling value. Monitor the readings closely to avoid any stress on the system components.
Run the System and Monitor
After making the adjustments, let your HVAC system run for a while to stabilize while keeping an eye on the readings to ensure everything is functioning optimally.
Document the Final Readings
Once satisfied with the adjustments, take the final temperature and pressure readings for future reference and to maintain a log of your HVAC system’s performance.
Check out these other articles…
Sporlan TXV Superheat Adjustment: Your Step-by-Step Guide
Danfoss TXV Superheat Adjustment: In 8 Easy Steps
TXV Adjustment: Your Step-by-Step Guide
What is Superheat in Refrigeration: Comprehensive 411 Guide
How to Increase Superheat: A Step-by-step Guide
Troubleshooting Common Issues
While adjusting superheat and subcooling, you might encounter issues such as fluctuating readings or a system that refuses to stabilize. In such situations, patience is key. If the problems persist, check for leaks, blockages, or other mechanical issues that might be causing the inconsistency.
Sometimes, it might be a simple issue of dirt accumulation that needs cleaning; at other times, it might warrant a more detailed inspection. Remember to always prioritize safety and consult with a professional if in doubt.