This detailed guide will equip you with the necessary knowledge and a step-by-step process of how to check superheat on TXV, helping you ensure the efficiency and longevity of your system.
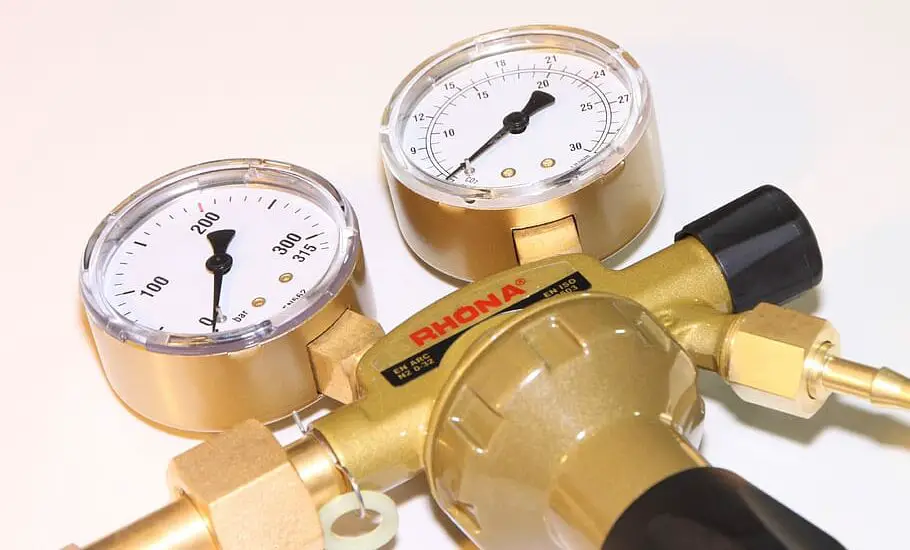
Table of Contents
Assembling the Essential Tools
To proficiently check the superheat on TXV, gather the indispensable tools which include a digital thermometer, a set of manifold gauges, and a pressure-temperature chart.
Procuring high-quality tools can facilitate a more accurate measurement, steering you away from potential errors during the process.
You can get this Lichamp A/C Diagnostic Manifold Gauge Set from Amazon.
How to Check Superheat on TXV
The steps below will guide you on how to check superheat on TXV.
Measure the Suction Line Temperature
As you venture further in learning how to check superheat on TXV, this step revolves around taking an accurate measurement of the suction line temperature. The suction line is essentially a copper tube connecting the evaporator coil to the compressor. This stage is pivotal as it aids in determining the correct superheat.
Here’s how to go about it:
Identification: Start by identifying the suction line. It is generally the larger of the two copper lines coming out from the evaporator and it is insulated to prevent condensation and energy loss.
Placement: Once identified, choose a spot that is straight and accessible to place the digital thermometer’s probe.
Thermometer Setup: Ensure your digital thermometer is working correctly and calibrated to provide accurate readings.
Measurement: Place the thermometer probe on the suction line and wait for a few minutes to get a stable reading. Note down this temperature accurately as it forms the foundation for calculating superheat.
Determine the Suction Line Pressure
After determining the temperature, the subsequent step in understanding how to check superheat on TXV is to find out the suction line pressure. This process is just as straightforward but crucial in achieving accurate superheat values. Here’s how:
Gauge Connection: Connect the manifold gauge set to the service port on the suction line. Ensure the connections are tight to prevent any refrigerant leaks.
Pressure Reading: Turn on the HVAC system and let it stabilize for a few minutes. Subsequently, take the pressure reading from the gauge.
Note the Value: After obtaining a stable reading, note down the pressure value as it would be essential in the forthcoming calculations.
Calculate the Superheat
Now, having collected both the temperature and pressure data, it is time to engage in how to check superheat on TXV through mathematical calculation. This step is crucial in ensuring your HVAC system is working optimally. Follow these detailed instructions:
Referencing the Chart: Using the pressure value noted in step 2, refer to the pressure-temperature chart to find the saturation temperature of the refrigerant at that specific pressure.
Calculation: Subtract the saturation temperature obtained from the chart from the suction line temperature noted in step 1. The resulting value is the superheat.
Verification: It’s always good practice to double-check your calculations to ensure accuracy before moving to the evaluation stage.
Check out these other articles…
How Does a TXV Work? Your Easy 411 Guide
When is a TXV Valve Needed: Comprehensive 411 Guide
Function of Thermostatic Expansion Valve in Refrigeration System
TXV vs Piston: Which Metering Device Should You Choose?
Externally Equalized TXV: Your Ultimate Guide
Evaluate Your Findings
Reaching this step, you have almost mastered how to check superheat on TXV. It is now time to evaluate the results from your calculated superheat value and interpret what it means for your system. Here’s how you do it:
Comparing with Standard Value: Compare the calculated superheat value with the recommended value specified in your HVAC system’s manual. This value varies depending on various factors including the type of system and its specifications.
Analysis: A correct superheat value indicates a well-functioning system, while a value too high or too low suggests potential issues. Analyzing this value accurately is central to preventing potential damages and maintaining the efficiency of the system.
Consultation: If unsure about the readings or the subsequent steps to take, do not hesitate to consult with an HVAC professional to guide you and provide expert advice based on the results.