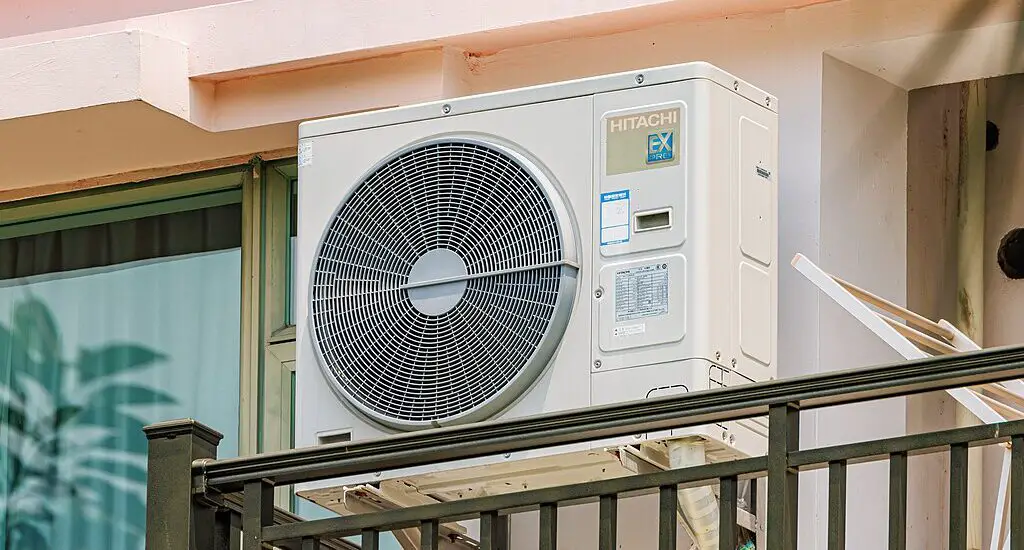
This comprehensive guide will take you through the necessary steps on how to fix Freon leak from the outside unit of your air conditioner.

Table of Contents
Detailed Steps on How to Fix Freon Leak from the Outside Unit
Repairing a Freon leak requires precision and attention to detail. The steps below will guide you on how to fix Freon leak from the outside unit of your air conditioner:
Step 1: Identifying the Leak
The initial step is to locate the source of the Freon leak. Since Freon is a colorless and mostly odorless gas, detecting its presence can be tricky without the right techniques. Here are detailed actions you can take to identify a leak:
Visual Inspection: Examine the outside unit for oily stains on the refrigerant lines. These stains could indicate areas where Freon has been escaping.
Use a Leak Detector: For more accurate detection, you can use an electronic leak detector, which is specifically designed to sniff out refrigerant leaks.
You can get this Elitech WJL-6000S Freon Leak Detector from Walmart.
DIY Bubble Test: If you do not have a leak detector, a bubble test can be conducted. Coat the refrigerant lines with a thick layer of the soapy solution. Bubbles will form where leaks are present. Check the entire unit, focusing on connections and any areas with visible signs of wear or damage.
Once you’ve identified the leak, mark the spot clearly with a piece of tape or a marker so you can easily find it again during the repair process.
Step 2: Preparing for Repair
Preparation is key to a successful repair. Before you begin the actual repair work, you need to gather the necessary tools and safety gear:
Safety Gear: Always wear gloves and safety goggles to protect against refrigerant, which can cause frostbite and eye damage on contact.
Leak Sealant Kit: Choose a leak sealant kit that is compatible with your system’s refrigerant type. It typically includes a sealant canister and a hose or valve for application.
Service Manuals: Have your AC unit’s service manual on hand for reference to system specifics, such as the location of refrigerant lines and service ports.
Before beginning any repair, ensure your AC system is turned off. This includes switching off the thermostat and the circuit breaker to prevent electricity from flowing to the unit.
Step 3: Sealing the Leak
Sealing the leak is a delicate process. Follow these detailed steps to apply the sealant correctly:
Clean the Area: The spot where the leak is located should be cleaned thoroughly. Any dirt or grime can prevent the sealant from sealing properly.
Apply the Sealant: Connect the hose of the sealant canister to the low-pressure service port. This port is typically found on the larger copper line and may have a blue or black cap.
Inject the Sealant: Once connected, release the sealant into the system. Most sealants work by traveling with the refrigerant until they reach the leak, where they react with moisture and air to form a seal.
It is essential to follow the sealant manufacturer’s instructions closely, as improper application can damage the system or cause the sealant to be ineffective.
Step 4: Checking the Repair
After sealing the leak, it is crucial to verify the repair:
Wait: Give the sealant enough time to cure. This may take anywhere from a few minutes to several hours depending on the product used.
Re-test with Soap Solution: Reapply the soap solution to the area where the leak was detected. No bubbles should form if the leak has been properly sealed.
Monitor the Area: Observe the repaired area and nearby connections over the next few days to ensure no new leaks develop.
Step 5: Recharging the Refrigerant
If your system has lost a significant amount of Freon, it will need to be recharged:
Assess the Need: Check the manufacturer’s specifications to determine the correct amount of refrigerant your system requires.
Professional Help: Recharging the refrigerant involves handling substances that require special training and certification to manage safely and legally. Contact a licensed HVAC technician to perform this task.
By following these steps, you’ll be able to fix a Freon leak from the outside unit of your air conditioner. Remember, while DIY can be rewarding, your safety and the integrity of your AC system are paramount.
