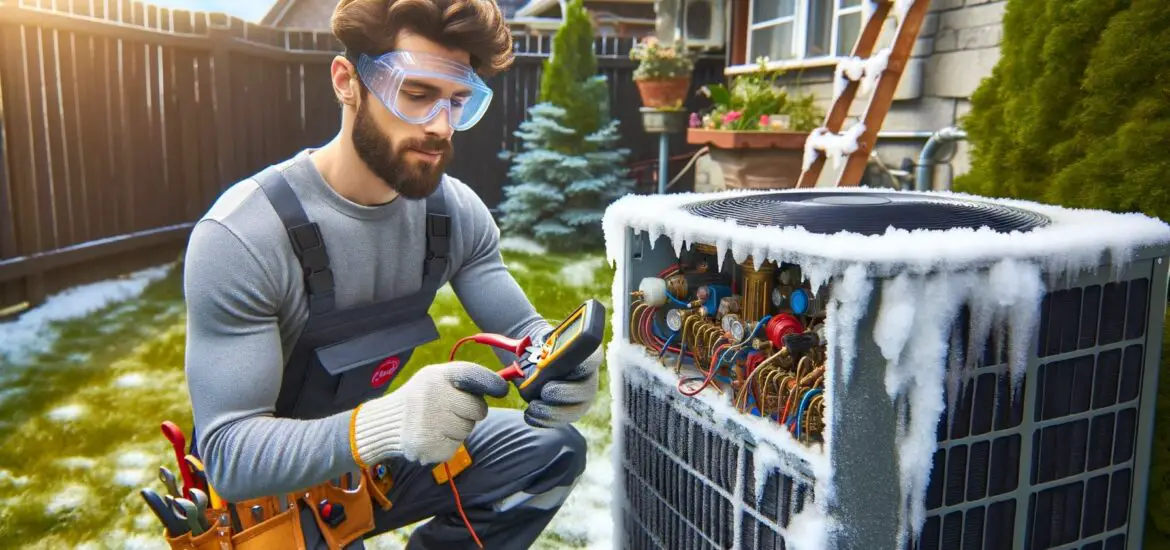
This is a step-by-step guide on what to do if you overfill freon in your air conditioning system, ensuring safe and effective recovery.

Table of Contents
Steps on What to Do If You Overfill Freon
The following steps will guide you on what to do if you overfill Freon in your AC unit:
Step 1: Identify the Overfill
Understanding whether you have overfilled your system with Freon is key to determining the appropriate response. Here’s how to spot the signs of an overfill:
AC Performance: An overcharged system may cool inefficiently. If the air isn’t as cool as expected or the system’s cooling is inconsistent, this could be a symptom.
Compressor Noise and Behavior: The compressor may short cycle, turning on and off more frequently than usual. A constant clicking noise from the compressor is a telltale sign.
Hissing Sounds: Excess pressure may cause refrigerant to release into the overflow valve, resulting in a hissing sound from the unit.
Pressure Gauges: A definitive way to diagnose an overfill is by using AC pressure gauges like this BENTISM AC Manifold Gauge Set. Attach the gauges to the low-side and high-side service ports. Then compare the readings to the manufacturer’s specifications. Overpressure on the gauges is a clear indicator.
Once you’ve identified that the freon is indeed overfilled, you can proceed to address it safely.
Step 2: Gather the Necessary Tools
To safely remove excess freon, you will need several tools:
Protective Gloves: Refrigerant-resistant gloves are essential for protecting your hands from chemical burns or frostbite that can occur from contact with the refrigerant.
Safety Glasses: Proper eye protection is necessary to prevent eye injuries from accidental splashing or spraying of refrigerant.
Refrigerant Recovery Machine: This device is specifically designed to safely remove freon from your system. Ensure it is compatible with the type of freon your system uses.
You can check if this BENTISM Portable 1 HP Refrigerant Recovery Machine available at Walmart is compatible with your system’s freon type.
EPA-certified Recovery Cylinder: You must store the recovered freon in a cylinder certified for this purpose, ensuring legal compliance and safety.
Acquiring the correct tools beforehand is crucial for a safe and effective recovery process.
Step 3: Wear Safety Equipment
Before you start the freon recovery process, ensure you are wearing the safety equipment mentioned above. Check that gloves and glasses are in good condition and provide a snug fit to avoid exposure to freon, which can be hazardous to skin and eyes.
Step 4: Connect the Recovery Machine
Connecting the recovery machine correctly is essential for the safe removal of freon. Follow these steps:
Locate the service valves on your AC unit, usually found near the compressor.
Attach the blue hose of the recovery machine to the low-side service port and the red hose to the high-side service port.
Ensure all connections are tight to prevent any leaks during the recovery process.
Incorrect attachment of hoses can lead to refrigerant leaks, which are environmentally harmful and may result in injury or legal penalties.
Step 5: Begin the Recovery Process
With everything connected, you can now start the recovery machine. The machine will extract the excess freon and deposit it into the recovery cylinder. Monitor the pressure gauges. Ensure you only remove enough freon to bring the system back to the correct pressure level.
Note: Over-recovery can lead to system inefficiency, just as much as an overfill can.
Step 6: Store the Recovered Freon
Once the excess freon is removed, it’s vital to handle the recovered refrigerant responsibly:
Ensure the recovery cylinder is not overfilled and that it remains in an upright position.
Label the cylinder clearly with the type of refrigerant and the date of recovery.
Store the cylinder in a cool, dry place away from direct sunlight and ignition sources.
Disposal or reuse of recovered refrigerant should be done in compliance with local environmental regulations and by certified professionals.
Step 7: Check the System Operation
After the recovery process, it’s time to ensure your AC system is functioning properly:
Remove the recovery machine and reattach any caps on the service ports.
Turn on the AC system and observe its cooling performance.
Listen for any abnormal sounds and check for consistent temperature output.
If the system operates efficiently and without previous symptoms, you’ve likely restored the correct freon level. Nonetheless, keep an eye on the system’s performance over the next few days to confirm ongoing proper operation.
Step 8: Seek Professional Help if Needed
If at any point you are uncertain about performing these steps, do not hesitate to contact a licensed HVAC technician. Do the same if after completing the steps the system still does not function correctly.
Technicians can ensure the recovery and system checks are completed properly. They can also troubleshoot any further issues, potentially saving you from more extensive damage or costs in the long run.