Knowing how to clean expansion valve is a crucial skill for maintaining efficient HVAC and refrigeration systems. This guide is tailored to provide you with clear, practical instructions to ensure that even if you’re a novice, you can achieve a sparkling clean expansion valve.
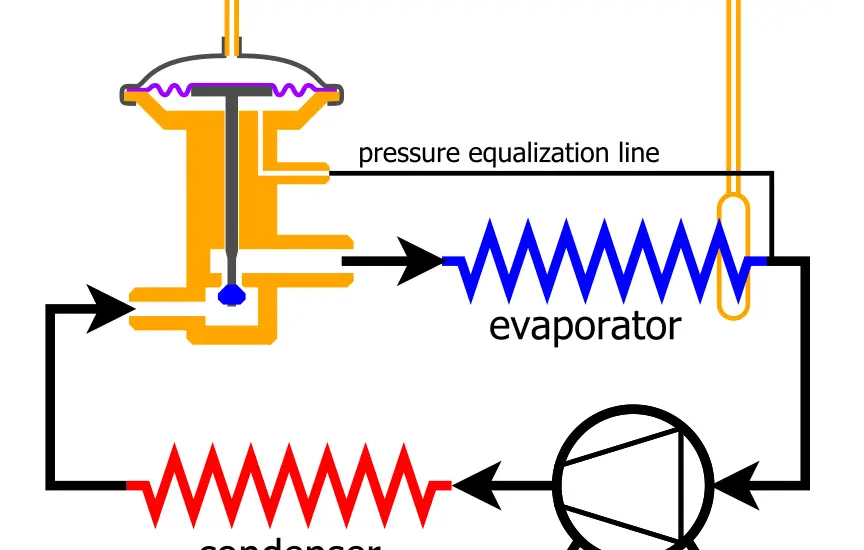
Table of Contents
Materials Needed
Before we go into the details of how to clean expansion valve, you’ll need the following materials for the task:
Soft cloth or rag
Warm soapy water
Small soft brush
Canned air or an air compressor (e.g. VacLife Tire Inflator Portable Air Compressor from Amazon)
Protective gloves
Step-by-Step Guide on How to Clean Expansion Valve
The steps below will guide you on how to clean expansion valve.
1. Safety First
Always prioritize safety. Ensure that the HVAC or refrigeration system is entirely powered off and unplugged from its electrical source. This not only protects you from potential electrical hazards but also prevents any inadvertent operational issues during the cleaning process.
2. Access the Expansion Valve
Different systems have varied configurations. Typically, the expansion valve is nestled within the unit, requiring the removal of a cover or panel. Refer to the manufacturer’s manual or user guide for precise location details and removal instructions to avoid unnecessary disassembly or potential damage.
3. Examine the Valve
Before diving into the cleaning, it’s beneficial to visually assess the valve’s condition. Checking for visible debris, discolorations, or signs of wear can give you insights into the kind of cleaning needed and areas to focus on.
4. Begin the Cleaning Process
Starting with the valve’s exterior, use your soft cloth or rag to gently wipe down its surface. This often removes a significant amount of superficial dirt and grime. If you encounter more tenacious stains or residues, moistening your cloth with some warm soapy water can help.
Make sure the cloth is wrung out well to prevent any water from entering the system. Remember, moisture can harm the inner workings of the unit
Check out these other related articles…
Expansion Valve Chiller: Your Quick 101 Guide
How Does an Expansion Valve Work: Your Easy 101 Guide
Expansion Valve Adjustment in 6 Easy Steps
Expansion Valve Orifice: A Comprehensive Guide
Electronic Expansion Valve Troubleshooting: Easy 411 Guide
5. Clean the Interior
The interior of the valve can be a hiding place for finer particles of debris that aren’t immediately visible. This is where your canned air or air compressor comes in handy. A gentle burst of air can dislodge and remove this debris. If using an air compressor, always ensure the pressure is set to low to prevent any potential damage or overexertion on the valve’s interior parts.
6. Brush Away Stubborn Residues
At times, you might notice residues that air alone can’t remove. A soft brush is the perfect tool for this job. Gently brush the interior surfaces, reaching into any nooks and crannies, ensuring all dirt and debris are loosened and removed. However, apply minimal pressure to avoid damaging the valve’s delicate parts.
7. Final Inspection
With the cleaning process complete, take a moment to reinspect the valve thoroughly. Ensure all dirt, debris, and residues have been effectively removed.
If any area seems lacking, consider revisiting that step for a more comprehensive cleaning. This ensures that you’ve done the most thorough job possible and that the valve will function efficiently.
8. Reassemble the Unit
Reassembly is just as crucial as disassembly. Carefully replace any components, panels, or covers you might have removed. Ensure everything fits snugly and securely. Incorrect reassembly can lead to operational issues, so take your time and double-check your work.
9. Power On
With everything back in place, it’s time to restore power to your unit. Plug it back into the electrical outlet and power it on. It’s always a good idea to monitor its operation for the next few hours, ensuring everything runs smoothly and efficiently after your maintenance.