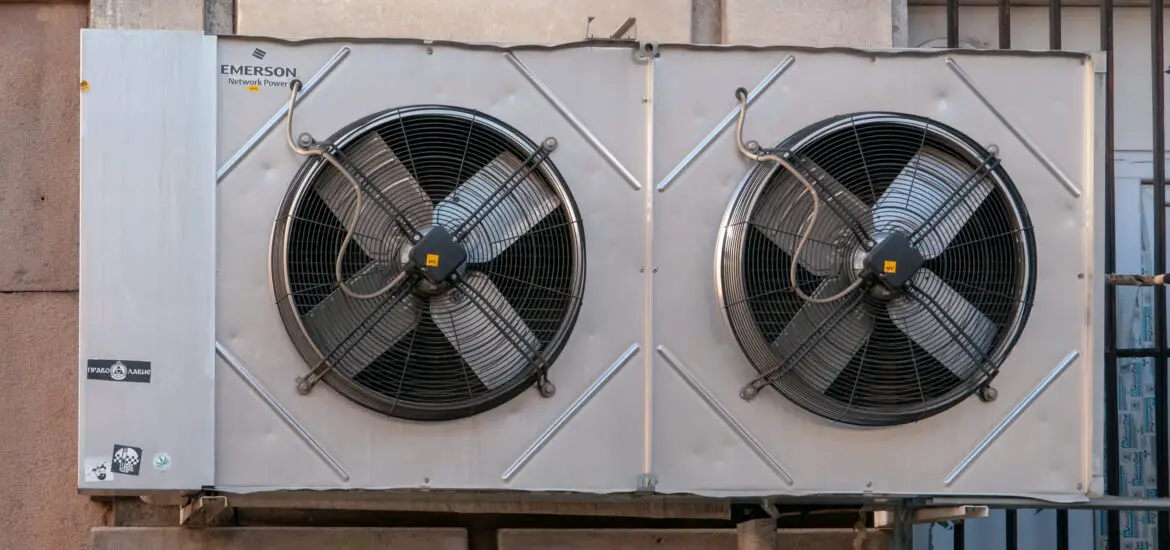
Understanding how to increase superheat can fundamentally change the way your HVAC system operates, bringing about improved efficiency and longevity. This comprehensive guide is designed to walk you through every necessary step, ensuring a straightforward approach.

Table of Contents
Safety Precautions
Increasing superheat involves tampering with electrical and mechanical parts of your HVAC system. Before embarking on this task, make sure to turn off the power supply to the HVAC system to avoid any electrical mishaps.
It’s also advised to wear safety gear such as gloves and safety glasses to protect yourself during the adjustment process.
Ensure you are working in a well-ventilated area to avoid inhaling any harmful vapors.
Taking these precautions will set a safe groundwork for you to work on increasing the superheat.
Gathering the Necessary Tools
Having the right set of tools is imperative in smoothly executing the task at hand.
For increasing superheat, you will require a high-quality thermometer to measure temperatures accurately, a reliable pressure gauge to measure the pressure in different parts of the system, and a set of wrenches to open and adjust various components of the HVAC system.
You can get the Yellow Jacket 40345 Blue Single Test Pressure Gauge and this 24-piece All-Purpose Master Combination Wrench Set from Amazon now.
In addition, having a notebook to jot down readings and observations at different stages can be handy in tracking the changes and adjustments made.
How to Increase Superheat: Adjusting the Thermostatic Expansion Valve (TXV)
The pivotal point in learning how to increase superheat is mastering the adjustment of the Thermostatic Expansion Valve (TXV). The TXV plays a central role in your HVAC system as it controls the amount of refrigerant flowing into the evaporator.
Here is a detailed breakdown of each step to help you adjust the TXV accurately:
Understanding the TXV
Before you start adjusting, it is vital to understand the functioning of a TXV. It operates based on the temperature and pressure of the refrigerant and adjusts the flow accordingly.
Familiarize yourself with the various components of the TXV, such as the sensing bulb, which monitors the temperature of the refrigerant.
Locating the TXV
Usually positioned near the evaporator coil in your HVAC system, the TXV can sometimes be housed inside a unit casing or externally mounted. Spend some time understanding your system’s layout to locate the TXV accurately.
Identifying the adjustment stem
On the TXV, you will find an adjustment stem, typically marked with directional arrows to indicate the direction for increasing or decreasing the superheat.
This stem controls a pin that manages the refrigerant flow, thereby adjusting the superheat levels.
Adjusting the TXV
With a suitable wrench, turn the adjustment stem clockwise gradually to increase superheat. This process requires patience, as a slight adjustment can lead to a significant change in superheat levels.
Always refer to the manufacturer’s guide for specific guidance on adjusting the TXV.
Monitoring the Changes
After the adjustment, let the system stabilize for a few hours before taking any readings. Use a thermometer to note down the suction line temperature and a pressure gauge to measure the suction pressure.
Convert this pressure reading to temperature using a PT chart and then calculate the superheat. Superheat = Suction line temperature – Suction saturation temperature.
Testing
Once you are satisfied with the superheat level, turn on the HVAC system to test its performance. Observe the system over a period to ensure it maintains the desired superheat levels efficiently.
Check out these other related articles…
Pressure Control and Expansion Valve: A Complete Guide
TXV vs Expansion Valve: A Comprehensive Comparison
Adjusting Superheat on TXV: In 6 Simple Steps
Sporlan TXV Superheat Adjustment: Your Step-by-Step Guide
Danfoss TXV Superheat Adjustment: In 8 Easy Steps
Fine-tuning
The process of increasing superheat doesn’t stop at adjusting the TXV; it extends to regularly monitoring and fine-tuning the system to maintain optimal performance.
This section dives deep into the nuances of fine-tuning your HVAC system:
Regular Monitoring
Establish a routine to check the superheat levels periodically. Consistent monitoring will help in identifying any irregularities early on, allowing for timely interventions.
Understanding System Feedback
Learn to interpret the signals your HVAC system gives. For instance, fluctuating temperatures or strange noises could be an indication that the system requires fine-tuning.
Being in tune with your system’s feedback can guide you in maintaining the correct superheat levels.
Adjustments Post Monitoring
Based on your regular monitoring, you may find that further adjustments are needed. Do not hesitate to revisit the TXV adjustments to achieve the perfect balance.
Remember that achieving the perfect superheat level is a cycle of monitoring, adjusting, and testing.
Consulting a Professional
If at any point you find yourself in doubt, it is wise to consult with a professional HVAC technician. Sometimes, fine-tuning can involve complex adjustments that are best handled by experts.
Documenting Changes
Keep a log of all the changes and adjustments made during the fine-tuning process. This documentation will be a valuable resource in understanding the system’s behavior and making informed decisions in future fine-tuning sessions.