In this extensive guide, we will escort you through a detailed breakdown of every step to facilitate a smooth and successful TXV valve installation, even if you are a novice in this field.
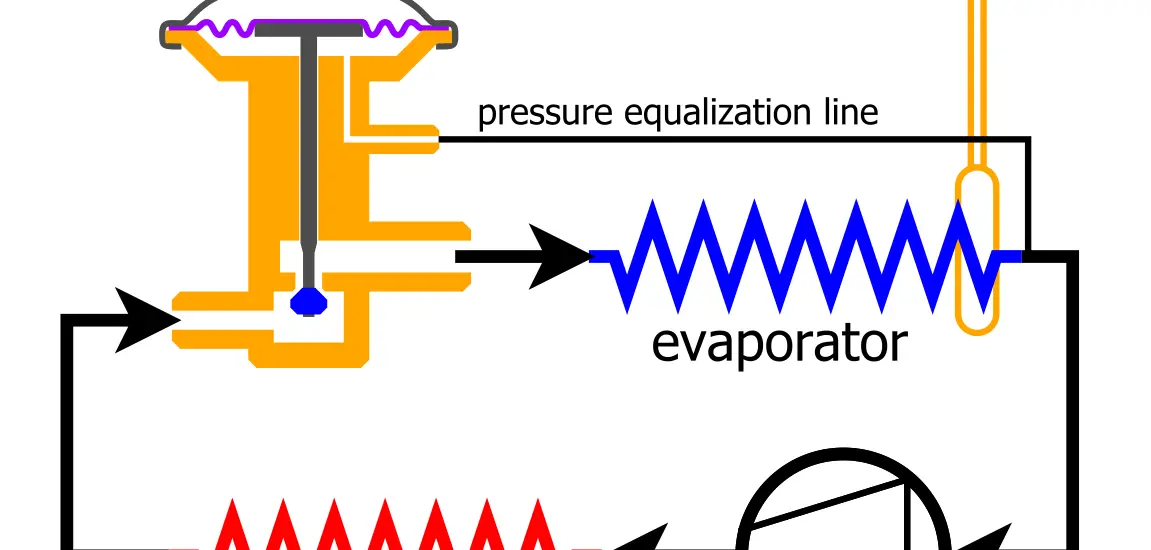
Table of Contents
Gathering the Necessary Tools
A smooth installation process begins with having the right tools at hand. These tools are designed to help you install the TXV valve accurately, ensuring it functions correctly. Here are the tools you will need:
Adjustable Wrench: This will be used for loosening and tightening bolts and nuts during the installation process.
Check out this Crescent 4″ Adjustable Black Oxide Wrench listed on Amazon.
Tube Cutter: Essential for cutting the refrigerant lines at the appropriate point to install the valve.
Brazing Torch: You’ll use this tool to create a strong, permanent connection between the valve and the refrigerant lines.
Refrigerant Manifold Gauge Set: This set helps in monitoring pressure in the air conditioning system, a critical aspect when installing the TXV valve.
You can get this Orion Motor Tech AC Manifold Gauge Set from Amazon now.
Leak Detector: After installation, this tool helps in identifying any leaks to ensure the system is perfectly sealed.
This Elitech HVAC Refrigerant Leak Detector listed on Amazon is suitable for this task.
Step-by-Step TXV Valve Installation
Embarking on a TXV valve installation requires meticulous attention to detail at every stage. Let’s delve deeper into each step involved in the process to help you grasp the crucial aspects:
Step 1: Ensuring Safety First
Before anything else, your safety is paramount. The first step is to completely turn off the power supply to your air conditioning system to prevent any accidents caused by electric shocks.
Disconnect all the electrical connections linked to the system. It is a good practice to use a multimeter to confirm there is no voltage running through the wires before you commence with the installation process.
Step 2: Locating the Correct Installation Spot
Identifying the right spot for the TXV valve installation is a critical stage in the process. The ideal location is usually at the entrance of the evaporator coil.
To be sure, refer to the manufacturer’s manual that accompanies your air conditioning unit; it will provide specific guidance on where to install the valve. Spending extra time at this step to find the correct location will save you from trouble later.
Step 3: Cutting the Refrigerant Lines
Once you have located the correct spot, the next step involves cutting the refrigerant lines to fit in the TXV valve. Utilize a tube cutter designed for this purpose to make precise and clean cuts.
Ensure you are cutting at the exact location as indicated in the manual to prevent any discrepancies later on. Remember to wear safety glasses to protect your eyes from any debris.
Step 4: Brazing the TXV Valve into Position
With the refrigerant lines cut and ready, the next step is brazing the TXV valve into its designated position. Brazing involves using a torch to heat the joining metals (the refrigerant lines and the valve) to a specific temperature and then applying a filler metal to join them.
The filler metal should have a lower melting point than that of the joining metals. It is advisable to practice good brazing techniques, such as cleaning the brazing area thoroughly before starting and using the right type of flux to prevent oxidation. Ensuring a strong and leak-free connection is vital at this stage to prevent future issues with your system.
Step 5: Reconnecting the Electrical Connections and Leak Testing
After successfully brazing the TXV valve in place, it is time to reconnect all the electrical connections that were disconnected in step 1. Ensure that every wire goes back to its original place to prevent any electrical issues. Once done, restore the power supply to the system.
The final yet crucial step in the installation process is leak testing. Using a refrigerant leak detector, check for any leaks around the areas where you worked.
Any leaks found should be fixed immediately to prevent refrigerant loss and ensure the efficient functioning of your air conditioning system. This step is critical to confirm that the installation was successful and the system is safe to operate.
Remember, working with electrical systems and hazardous materials, like refrigerants, carries inherent risks. Always prioritize your safety and don’t hesitate to consult with a professional if you are unsure at any stage of the installation process.
Check out these other articles…
Checking Superheat: The Definitive Step-by-Step Guide
Checking Superheat with TXV: In 5 Easy Steps
How to Check Superheat on TXV: Your Step-by-Step Guide
TXV Hunting: Your Comprehensive Guide
Electronic Expansion Valve Types: The Full Breakdown
Troubleshooting Common Issues
Even with careful TXV valve installation, you might encounter issues. Here, we look at common problems and how to address them to ensure the system functions optimally:
Incorrect Refrigerant Levels: Ensure that the refrigerant level is optimum as per the manufacturer’s specifications to guarantee optimal performance.
Misalignment of the Valve: If the valve is not correctly aligned, it can lead to inefficiencies. Ensure it is correctly positioned to facilitate smooth operation.
Leakages: After the installation, if you notice refrigerant leakages, address them immediately to prevent damage and maintain efficiency.