Is your RV refrigerator leaking? A leaking refrigerator is a serious problem that you should fix as soon as you notice it.
Table of Contents
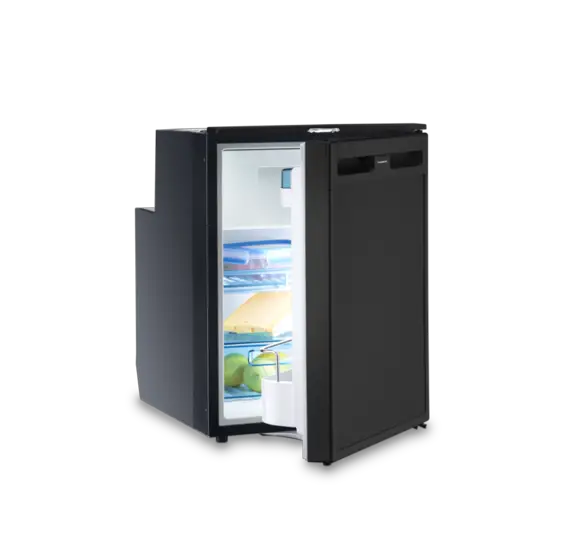
RV Refrigerator Leaking Water – Solved
If you find that your RV refrigerator is leaking water, check the drain tube. Find the entrance to the tube inside the RV refrigerator. To do this, remove the top shelf to expose the tray under the cooling fins. If the tray is filled with ice, it tells you the drain tube is clogged.
Gently dislodge the tray even with the ice in order to gain access to the drain tube. You may see a receptacle holding the drain in a small tray or a hole on the bottom of the unit. The style will depend on the brand and model.
Mix a little baking soda in warm water and pour the mixture down the drain hole if it is a hole on the floor. Don’t stop until the mixture runs free down the hole. Then, you can flush it with clean water and replace the shelf and tray.
But f the drain hole is held in a receptacle, pop out the receptacle using a screwdriver. Next, remove the drain tube from the receptacle and wash it in the sink. When it is thoroughly clean, put it back into the receptacle, and replace the receptacle in the refrigerator.
Sometimes, the drain comes loose and leaks water into the refrigerator. This is one of the easiest fixes, as you can fix the loose tube back into its position. But this applies if the RV has a drain pan.
When to Replace the Drain Tube
If you find that the tube continues to leak water even after you unclog it, it may be broken. Replacing it is the only option, but you can only do that if your RV refrigerator has a removable drain tube. Find the correct type for your refrigerator model because the wrong type may not fit.
However, if the drain is a hole in the bottom of the refrigerator, you cannot replace the tube. But you can insert a vinyl tube into the hole to cover the leaking tube.
Check out these other articles…
Refrigerator Compressor Shuts Off [How to Fix]
Refrigerator Handle [How to/Problems & Solutions]
Refrigerator Light [How to/Questions/Problems & Solutions]
Refrigerator Humidity [Detailed Guide]
Ice Maker Is Leaking [How to Fix]
RV Refrigerator Leaking Ammonia – How to Fix
When you find a yellow substance leaking from your RV refrigerator, you know it is leaking ammonia. Sadly, the only way to fix an ammonia leak is to replace the refrigerator’s cooling unit completely.
Replacing the cooling unit can be an expensive job if you hire a technician. But if you have the technical know-how, you can replace it yourself.
Pull out the refrigerator from its cabinet and place it upright. Using a damp cloth, clean the yellow spills you see. Next, unmount the screws holding the burner assembly and evaporator cover in place, and set it aside. Doing this exposes the cooling unit.
Now, lay the refrigerator down so that the open part faces up. Remove the leaking cooling unit and clean out thermal mastic from the compartment. Take a wood rasp and shape the encasing foam of the new unit. Next, slide the unit into the compart, ensuring it correctly fits. You will know this if the fins lie flush on the tubes.
When you are sure you have the right fit, remove the unit from the compartment and apply some thermal mastic in the box. Apply it to the exposed evaporator tubes in half-inch increments until you are done. Then, fit the cooling unit into the compartment once more. Do it carefully.
Gently press the unit into the compartment for about a minute. This is so that the mastic sticks the unit to the refrigerator. When you get it right, replace the cover over the burner assembly and evaporator, and put the RV refrigerator back in its cabinet.
Ammonia can cause permanent damage to the eyes. Therefore, wear protective clothing when handling ammonia, including goggles. And use silicone caulk to seal any gap between the refrigerator box and the foam.
RV Refrigerator Gas Leak – What to Do
The first step is to evacuate the area. As gas is highly flammable, the tiniest spark may start a fire. So, get everyone to safety before doing the next thing. Turn the LP valve off and quench any open flame. Next, ventilate the area thoroughly, and call for professional help. Usually, that would be a propane service agent. Stay at a safe distance while you wait for help to arrive.
It is crucial to note here that other factors can cause a gassy smell from an RV refrigerator. One of such factors is
So, to detect a gas leak correctly, you will need a gas leak detector around you. Another way is to smell a rotten-cabbage odor or egg-like smell. If you know what propane smells like, you will also be able to detect a propane gas leak.
A third way to detect a gas leak correctly is to check the current gas consumption by the refrigerator. If it spiked recently, there is a possible leak. This method may be a little difficult to use unless the propane supply is used by other appliances. If such appliances don’t work or work only intermittently, check the gas.
RV Refrigerator Roof Vent Leaking – Quick Fix
A leaking RV refrigerator roof vent may be a design failure. If it is, you may not be able to do anything about it. Only the manufacturer can find a solution to the problem. You may not notice it until you are in a storm and water pours into the refrigerator through the roof.
Another possible cause of a leaking roof vent is that the vent is old. But that would mean that the RV refrigerator is also old. But if the unit is still relatively new, deterioration is not an option.
You may want to remove the screws holding the vent in place and remove the top. Next, inspect the roof’s sealing and the base of the vent. It is possible that the roof is curved while the base of the vent is flat; the design flaw we talked about. If that is the case, the base may have detached from the roof, leaving a gap.
Push the base back into the position on the roof to close the gap. Then, check the screws to see if they are in good working condition. They may not be because water will sit in the hole created by the base of the vent, and rust the screws. Replace the screws if possible.
Note: The same error applies to the side vent of an RV refrigerator.
Recap
An RV refrigerator is a convenient storage space if you have to be on the road constantly. But an RV refrigerator leaking water or coolant/ammonia is not a problem you want on your hands. Thankfully, there are DIY ways to fix most of the problems, as we have detailed in this article.
However, if you continue to have leakage issues with the refrigerator, it is best to hire a professional to check and fix it. If you can reach the manufacturer, all the better, especially if the refrigerator is still under an active warranty.
Get Instant Help — Ask An Experienced Verified Appliance Technician
Need expert help? Click here to use the chat box on this page to speak with a verified appliance technician right away. No need for expensive in-home service calls. No appointments. No waiting.