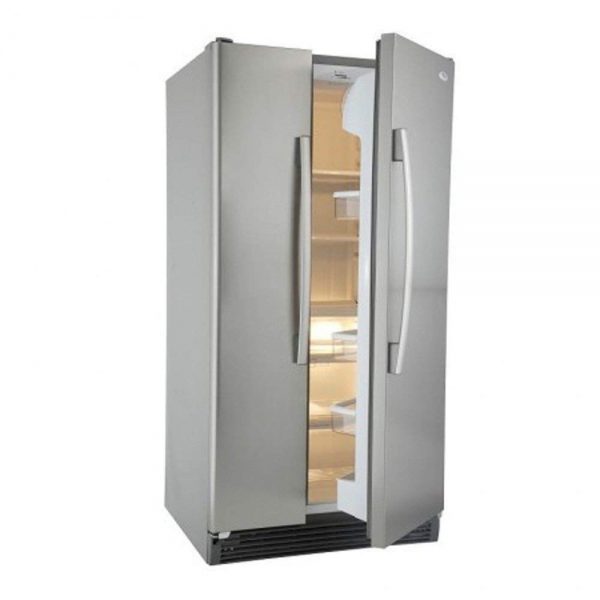
If you are looking for how to level a Whirlpool refrigerator, this article is a guide. Learn how to level the refrigerator door and the entire unit.

Table of Contents
How to Level a Whirlpool Refrigerator
You will need a leveling tool and a wrench if you want to level a Whirlpool refrigerator. If you have a Whirlpool alignment tool, it is the best tool for the job. Go to the refrigerator and open the doors, keeping them at a 90-degree angle. Bend to the front bottom grille, grab the sides, lift the top of the grille, and tilt it toward you to pull it off.
Next, pull out the brackets holding the grille in position, but this step only applies to top-freezer and side-by-side models. You can put the bottom part of a pencil into the notch facing inside the bracket and push it downward. Gently but firmly pull the bracket so that you remove it.
Now, get a level and put it on top of the refrigerator and check the alignment; inspect the horizontal and vertical leveling. If the refrigerator is not level, find the leveling screws in the bottom front of the unit; removing the grille exposes them. The specific Whirlpool refrigerator model will determine the number of screws available. Freezer-drawer models tend to have two screws on each side, and side-by-side and top-freezer models have only one on each side.
The left-side nut or screw raises the refrigerator or lowers the back of the refrigerator. If there are two nuts, the top nut does this job. The nut on the right side or on the bottom raises or lowers the front part of the unit. If the refrigerator has a single nut on each side, the nuts can adjust the refrigerator’s front and back. And if the unit has only one screw, it adjusts the back only; the front part adjusts using the leveling leg.
The nuts should turn counterclockwise or clockwise to lower or raise the leg or side of the unit respectively. Have someone help you move the unit so that you can adjust the leveling leg for models with only one nut. The front of the refrigerator should be lowered or raised based on specific needs. Keep turning the nuts or leveling legs counterclockwise or clockwise until the refrigerator is properly leveled. Use the level to check the alignment.
After making the necessary adjustments, open the refrigerator doors to see if they close and open as they should. And if they are in order, turn the brake foot on the left and right sides of the refrigerator’s front to the right to secure the unit to the ground. Doing this prevents the refrigerator from moving when in use.
If you removed the grille brackets, fit them into their positions and put the grille back in place. Ensure you lock the tabs by snapping them into place. Turn on the refrigerator if you previously turned it off and check its performance.
How to Level Whirlpool Refrigerator Doors
If the refrigerator model is a 3-door, 4-door, or 5-door French door type, get the hex key that came with the refrigerator. Open the drawer; if it is a 3-door model, you need to open the only drawer in the unit. But if it is a 4-door or 5-door model, open the right drawer and find the hinge pin at the bottom right of the right door. The hinge pin contains the alignment screw.
Get the ⅛ hex key and insert it into the hinge pin; ensure it engages fully in the screw before turning it. Next, turn it clockwise or to the right to raise it, or counterclockwise or to the left to lower it. Keep turning it in the direction you need for the doors to level until they reach the desired height.
If the refrigerator is a side-by-side model, find the alignment screw on the bottom hinge of the door that needs adjustment. Your model will determine whether or not you need to remove the front bottom grille. Next, get a 5/16 open-ended adjustable wrench and turn the alignment screw. Turn it to the right to lower the door or to the left to raise it.
Keep turning the screw until the door reaches the desired height. You may want to open both doors to an angle of 90 degrees and check it before fixing the grille back in place. If you have difficulty making the adjustments, contact the Whirlpool Service Center to request assistance. Alternatively, use the services of a qualified appliance technician.
Check out these other articles…
How to Replace a Maytag Refrigerator Thermostat [Quick Guide]
How to Clean a Maytag Refrigerator…[Detailed Guide]
Age of a Maytag Refrigerator [Quick Guide]
How to Replace a Maytag Refrigerator Ice Maker [Quick Guide]
How to Make Ice in a Maytag Fridge [Quick Guide]
Recap
If you need to know how to level a Whirlpool refrigerator, it is crucial to locate the leveling legs or alignment screws. This applies whether or not the refrigerator has wheels. Turn them in the direction needed to lower or raise the front or rear part.
The instructions in the owner’s manual will help you determine which direction to turn the screws or legs. But the refrigerator needs to be slightly tilted to the back, with the front raised a little to function optimally. If the unit leans too far back, you need to adjust the rear, and if it leans forward, adjust the front.
Get Instant Help — Ask An Experienced Verified Appliance Technician
Need expert help? Click here to use the chat box on this page to speak with a verified appliance technician right away. No need for expensive in-home service calls. No appointments. No waiting.