If you are wondering how to effectively caulk a Samsung ice maker, wonder no more. This article is a guide on caulking a Samsung ice maker.
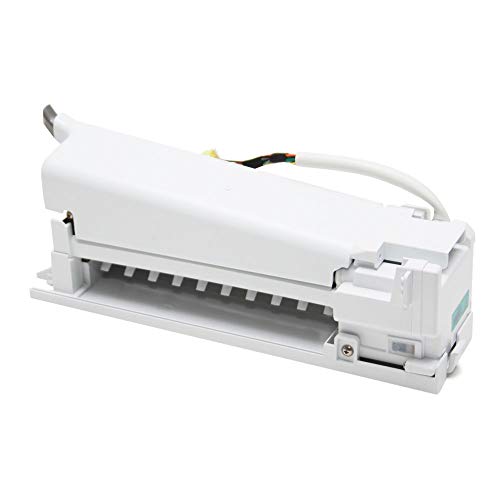
Table of Contents
Caulking a Samsung Ice Maker – What to Do
The following are the steps to take in order to successfully caulk a Samsung ice maker:
Step 1
Defrost the refrigerator by putting it in the forced defrost mode. To do this, press the Fridge and Energy Saver buttons at the same time for about 8 seconds or until there is a beep.
Next, press the Fridge button or any other button until the display shows Fd, which stands for forced defrost.
You can also press the Lighting and Freezer buttons simultaneously for about 8 to 10 seconds to get the same result.
It is important to note here that the combination of buttons to press will depend on the model of the Samsung refrigerator you own. However, the combinations mentioned above works for most models as they have the buttons.
Allow the refrigerator to run the forced defrost cycle for about 10 minutes. This lets the ice maker and its compartment thaw if there is any ice. The refrigerator will beep while the defrost cycle runs.
To exit the mode, press the same buttons and hold them until the display becomes blank and the beeping stops.
Step 2
Disconnect the refrigerator from the power source. If you cannot reach the wall outlet to which it is connected, shut the circuit breaker down.
Step 3
Remove the ice bucket by grabbing it at the bottom, lifting it slightly and pulling it out. Some ice buckets have a lever or button at the top. So lift the lever or push the button to release the bucket before lifting it out.
Yet another set of refrigerator models have ice buckets that look like drawers under the ice maker. In this case, simply draw them out like a drawer and take them out of the way.
If you notice there is still some ice in the ice maker after removing the ice bucket, leave the refrigerator doors open until it melts.
Avoid using any external heat source to melt the ice. This is because the heat could melt the plastic in the compartment and damage the refrigerator beyond repair.
Step 4
Unmount the Philips screw holding the cover of the wire housing in place. Lift the cover out of the way and lift the wires out of the side of the ice maker compartment. Next, disconnect the wire harness so nothing is keeping the wires attached to the ice maker.
Step 5
Now, remove the screw holding the ice duct tray attached to the ice maker. After doing this, move the tray a little to the right using a flat blade screwdriver.
If there is a coil under the ice maker, pry it down from the bottom of the ice maker just enough to make room for easily removing the ice maker. Use the same screwdriver as earlier. But do this carefully as the coil is delicate. Any puncture on it and the refrigerator damages beyond repair.
Step 6
Remove the ice maker by pressing down on the locking mechanism at the center top, push it slightly forward and down to release it. Then, pull it out gently and carefully.
Step 7
Remove the auger motor assembly by disconnecting the wire harness first. Then, pry the lock at the bottom loose with a screwdriver.
Next, pull the assembly out by holding on to the blades. Make sure there is no wire in the way so the assembly can slide out smoothly. Push the front sides of the ice maker compartment in a little so that the assembly does not snag on them.
Step 8
Using a flashlight, check to see if there is any gap between the ice maker compartment and the refrigerator wall. Flash the light and check for brightness inside the compartment which is an indication of gaps through which air can pass.
If there is any gap, get an adhesive or sealant recommended for such purposes. Cut the applicator with a plier or scissors. Next, remove the cover of the adhesive and replace it with the applicator.
Ensure the compartment has no moisture left in it and the refrigerator’s temperature is the same as the room temperature. Then, you can apply the sealant.
Step 9
Carefully and gently apply the adhesive along the back and left sides of the compartment. When you are sure you have applied an adequate amount, allow about 24 hours to pass so that the sealant can dry completely. After this time, reassemble the ice maker.
To reassemble, reverse steps 7 to 2 listed above.
[amalinkspro type=”showcase” asin=”B01GV9YOU0″ apilink=”https://www.amazon.com/dp/B01GV9YOU0?tag=refrigeratorsreviewed-20&linkCode=osi&th=1&psc=1″ new-window=”true” addtocart=”true” nofollow=”true” sc-id=”6″ imgs=”LargeImage” link-imgs=”false” specs=”” btn-color=”#ff9900″ btn-text=”Buy on Amazon” alignment=”aligncenter” hide-prime=”0″ hide-image=”0″ hide-price=”0″ hide-button=”0″ width=”600″]Samsung DA97-13415B Assy Ice Maker[/amalinkspro]
Here is a video that further demonstrates how to caulk a Samsung ice maker easily…
Check out these other articles…
Samsung Ice Maker Auger Not Turning [How to Fix]
How to Turn off a Samsung Refrigerator [Quick Guide]
Samsung Ice Maker Broken [How to Fix]
My Bosch Fridge is Freezing Everything [Solution]
KitchenAid Refrigerator Freezing Everything [Solution]
Important Note
Before caulking a Samsung ice maker, be sure that there is a need for it. If you notice cracks on the ice maker or in the compartment where the ice maker sits, it is necessary to caulk. Otherwise, you may damage the machine beyond repair.
It is also important to know when to replace the entire assembly instead of caulking. This is especially true if the ice maker has too many cracks that cannot be effectively sealed.
However, if you are not sure how to determine this, have a refrigerator technician take a look at it and advise you accordingly.
However, if the caulking does not fix the problem, contact the Samsung Service center to report the issue and request service.
Get Instant Help — Ask An Experienced Verified Appliance Technician
Need expert help? Click here to use the chat box on this page to speak with a verified appliance technician right away. No need for expensive in-home service calls. No appointments. No waiting.