Are you looking for how to remove an ice maker from a GE refrigerator? Look no further. This article lays out steps to remove an ice maker.
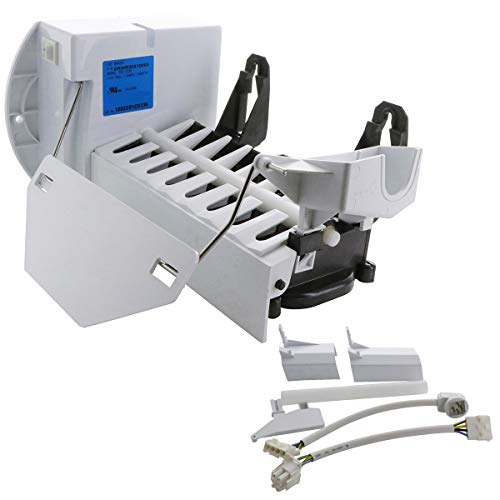
Table of Contents
How to Remove an Ice Maker from a GE Refrigerator
To remove the ice maker from a GE refrigerator or freezer, do the following:
Step 1
Remove the shelves or racks that are in the way. If there is none, simply take the ice bucket out. To do this, simply pull it out of the freezer, from under the ice maker.
Step 2
Turn the ice maker off. How you do this will depend on the type you have. Some models have a toggle switch, which you move up and down to switch the machine off or on.
Some others have a slide switch, which you move to the left or right to turn off or on. Yet a few more use the feeler arm to go off or remain on. Newer models are controlled from the control panel.
Step 3
Unthread the 3 quarter-inch hex-head screws holding the auger assembly in place. Once they are out, gently lift the assembly but do this carefully. You will notice a harness for wires attached to it from inside the unit. Disconnect it.
Step 4
Next, unthread the quarter-inch hex-head screws that hold the ice maker to the mounting brackets.
You don’t need to pull them out completely. Loosen them just enough for you to be able to lift the ice maker off the brackets.
Go under the ice maker and unplug the harness or what is commonly called the ice maker plug.
Now, lift the ice maker up a little so it separates from the hanging brackets. Then, slide it towards you and out of the freezer.
These steps are suitable for side-by-side models.
Note: Unplug the unit from electric power and disconnect the water supply to the ice maker.
For Bottom Freezer Models
If you have a GE bottom freezer refrigerator, such as the GE Profile refrigerator, and the ice maker is in the freezer, take the following steps to remove it:
Step 1
Disconnect the unit from the wall outlet or shut down the circuit breaker.
Step 2
Open the door or drawer of the freezer and remove the baskets. You can also take the ice bucket out of the freezer at this point.
Step 3
Lift the vertical divider out of the support rails. We would like to point out here that on some refrigerator models, the top of the divider inserts into a recess molded into the ceiling of the freezer.
A tab is affixed to the bottom part. And this tab fits into a notch within the support rail.
So, to lift the divider out of the rails, unthread the 2 quarter-inch hex-head screws from the top back of the divider.
Next, press the rail to release the divider’s front. And while you press down the rail, also press the divider’s front.
Now, turn the divider counterclockwise a little in order to remove the tab from the rail’s notch. Do this carefully.
Step 4
If you have the PFSF2 model, you will need to unthread the Phillips-head screw and separate the cover of the ice drawer from the cover of the evaporator.
Next, unthread the 2 quarter-inch screws that hold the ice maker to the mounting brackets. But don’t remove them completely. Then, lift the ice maker up and away from the brackets.
Now, disconnect the harness that acts as the plug of the ice maker from the wall of the freezer.
Here is a video demonstrating how to do this…
Check out these other articles…
GE Refrigerator Not Working [How To Fix]
Samsung Freezer Stopped Working [How to Fix]
GE Fridge Just Shut Off [How to Fix]
How To Remove Shelves from a GE Refrigerator [Quick Guide]
GE Refrigerator Door Won’t Close [Solutions]
Difference Between GE and GE Profile Refrigerators [Quick Guide]
GE Refrigerator Smells Like…[Problem Solved]
For French-door Models
If you have a french-door refrigerator model, take the following steps to remove the ice maker:
Step 1
Unplug the unit from power or flip the circuit breaker that controls it.
Step 2
Open the left door of the unit, where the ice maker is. Open the door of the icebox and lift the ice bucket out of the way.
Step 3
Unthread the 5/16 inch hex-head screw holding the cover of the wire harness in position. Lift and remove the cover after unthreading and removing the screw. You will see that the thermistor or sensor disconnects from it automatically.
Step 4
Disconnect the ice maker’s 2 wire harnesses. One has four pins while the other has six pins.
Next, unthread the 5/6 inch hex-head screw at the bottom of the ice maker, at the center. These screws hold the ice maker secure to the icebox.
Now, you can gently lift the ice maker to remove it.
[amalinkspro type=”showcase” asin=”B07RC1696B” apilink=”https://www.amazon.com/dp/B07RC1696B?tag=refrigeratorsreviewed-20&linkCode=osi&th=1&psc=1″ new-window=”true” addtocart=”true” nofollow=”true” sc-id=”6″ img-sizes=”500:500″ imgs=”LargeImage” link-imgs=”false” specs=”” btn-color=”#ff9900″ btn-text=”Buy on Amazon” alignment=”aligncenter” hide-prime=”0″ hide-image=”0″ hide-price=”0″ hide-button=”0″ width=”600″]KITCHEN BASICS 101 WR30X10093 Ice Maker Kit Replacement for GE Refrigerators[/amalinkspro]
How to Remove Ice Cubes from a GE Ice Maker
To remove ice cubes from a GE ice maker, open the ice maker and pour a little warm water into the mold.
The water will loosen the ice cubes if they are stuck. However, if you plan to use the ice, don’t wait too long before removing them. Otherwise, the water will melt the cubes completely.
Another option, not so great if you want to use the ice cubes, is to pour a little vinegar. It also does a great job of dislodging the ice cubes.
Yet another alternative is to remove the ice maker and harvest the ice by hand. But that would be after letting the cubes thaw a bit so you can easily lift them from the mold.
Recap
Be sure you follow the steps laid out for the type of GE refrigerator you own. All GE refrigerator ice makers are not the same.
If you are not sure, look up instructions in the user manual for the refrigerator. You can also contact GE for further assistance.
Alternatively, chat with our appliance technicians. They will guide you without any appointment or in-house call.
Knowing how to remove an ice maker from a GE refrigerator will go a long way in saving you money. If you ever need to replace the machine or fix something in it, you don’t need the services of a repair technician.
It is important to disconnect power from the refrigerator before removing the ice maker. This is to prevent an accidental electric shock or electrocution.
Get Instant Help — Ask An Experienced Verified Appliance Technician
Need expert help? Click here to use the chat box on this page to speak with a verified appliance technician right away. No need for expensive in-home service calls. No appointments. No waiting.